Now with FileFlex Enterprise, you don’t need to build or pay for expensive third-party hosted data room services. You can easily create as many data rooms as you like where files and folders of information can be securely and privately uploaded without cost by your associates, vendors, suppliers, and clients.
How to Create Virtual Data Rooms Using FileFlex Enterprise
Estimated reading time: 4 minutes
What is a Virtual Data Room?
A virtual data room is a repository of information that is used for the mutual storing and distribution of confidential electronic documents. Until FileFlex a virtual data room was essentially a website usually hosted by a third-party vendor with limited access that allowed authorized parties to view information in a controlled confidential environment.
What is a Virtual Data Room Used For?
A virtual data room is used to facilitate a legal book of documents, discovery, due diligence, M&A transactions, loan syndication, private equity, and venture capital. Sometimes a virtual data room is called a deal room. The virtual data room enables colleagues, clients, partners, associates, vendors, and other authorized people both internal and external to your company to put, view download, and edit confidential documents in a controlled environment.
What is a Virtual Data Room with FileFlex Enterprise?
With FileFlex Enterprise a data room is a folder located somewhere on the storage infrastructure that the user shares with colleagues and allows them upload rights. The recipient has visibility to what is in the folder and they can add files to the folder by dragging and dropping them.
What is the Virtual Data Room Pricing?
Now with FileFlex Enterprise, you don’t need to build or pay for expensive third-party hosted data room services. Without any extra cost, every user subscription allows you to easily create as many data rooms as you like where files and folders of information can be securely and privately uploaded without cost by your associates, vendors, suppliers, and clients. You can give access to the data room to as many recipients as you like.
FileFlex Enterprise Virtual Data Room Permissions Levels
Files can then be either accessed in ‘view-only’ or ‘view & print only’ mode where downloading and electronic distribution of data room content is prohibited, or they can be accessed with full download and editing collaboration rights. An access expiry date can also be determined for the data room and these permissions can be further refined on a user-by-user basis.
How Do I Create a Virtual Data Room?
Step 1) Create a folder.
In the example below, we will set up a virtual data room folder by simply creating a folder that can be shared. With FileFlex Enterprise, you can make a virtual data room anywhere in your organization’s storage infrastructure but since they will host confidential documents, with FileFlex Enterprise they can be on our company-owned storage that is on-premises and behind our firewall. For a full walkthrough on how to create a virtual data room, you can also take our online interactive tutorial.
- Open the repository where you want to host your virtual data room.
- Click the contextual menu (3 dots)
- Choose ‘New Folder’ and create a folder for your virtual data room.
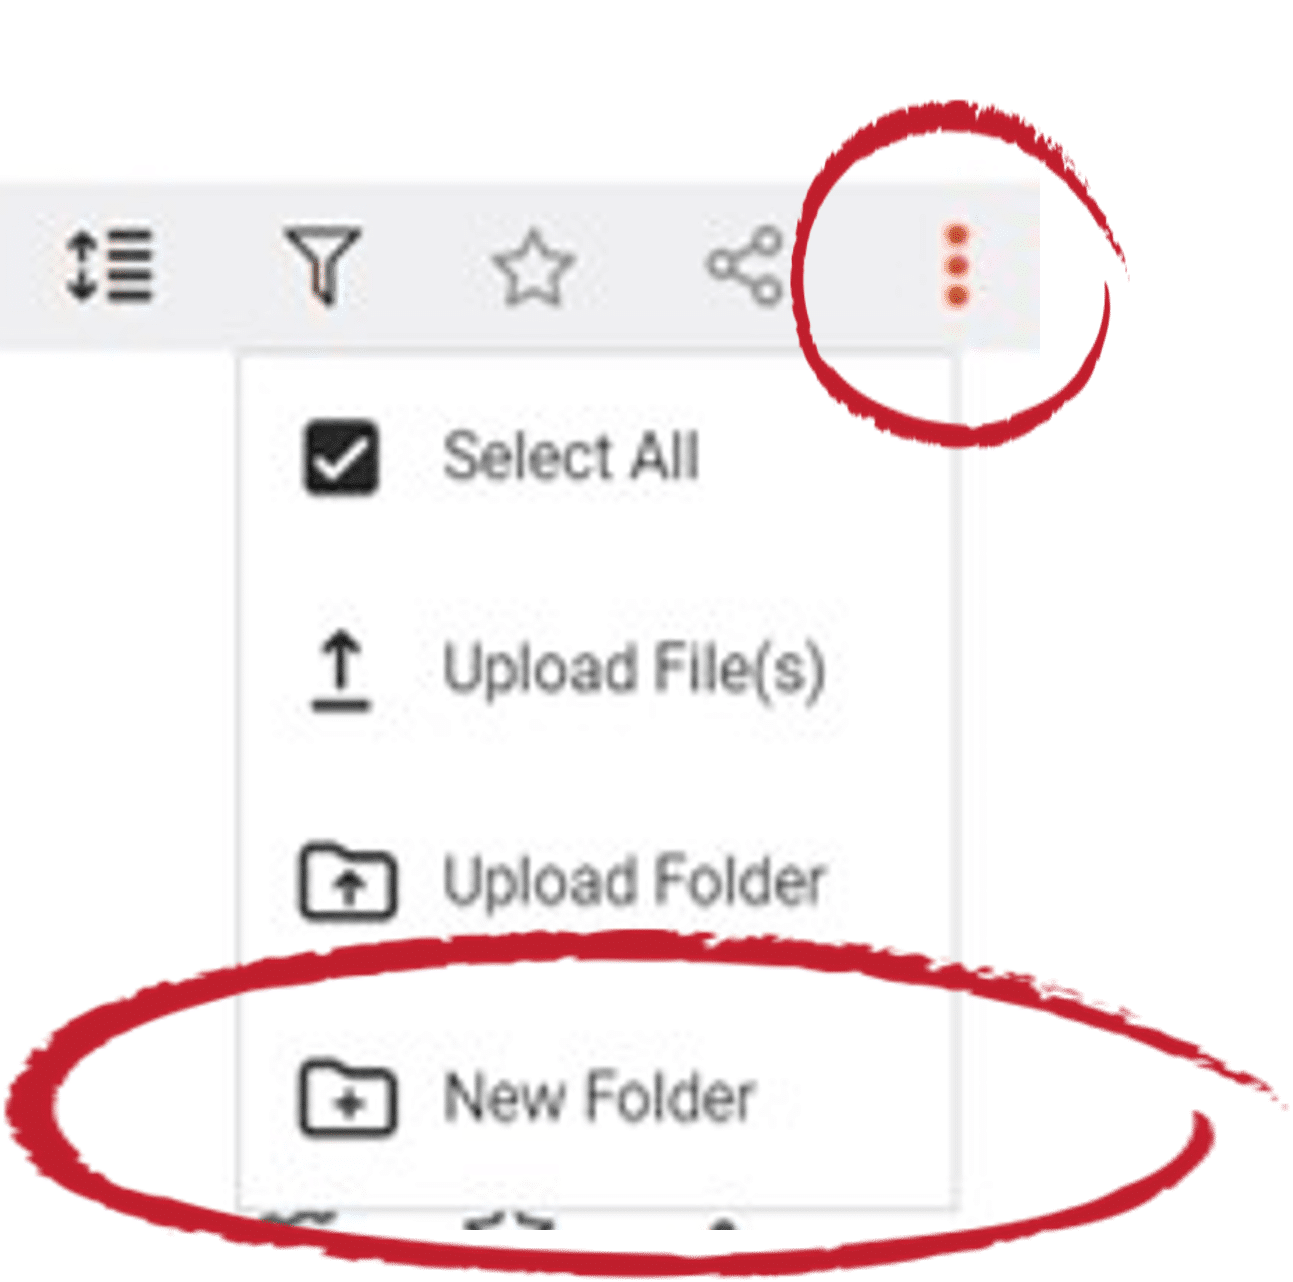
Create folders that will be used as Virtual Data Rooms
Step 2) Share your folder
- Click the share icon for the folder you just created that will be used as your virtual data room.
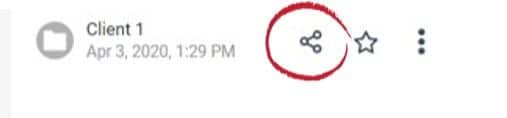
Share the folder/data room
Step 3) Set the default permission levels
- In the sharing options, I allow for uploads by clicking the ‘Upload’ radio button. This converts the folder into a virtual data room by allowing the recipient to upload files and folders.
- I also set the default options to allow recipients to download or edit files or not. I can also set an expiry date if I want. We can later modify the permissions on a user-by-user basis.
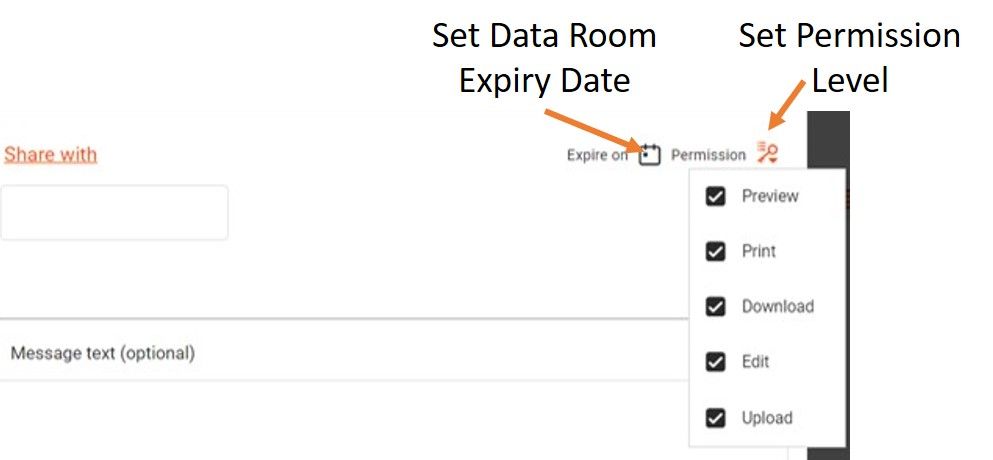
Set the Sharing Permissions for the Virtual Data Room
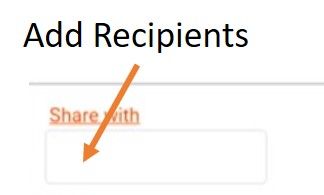
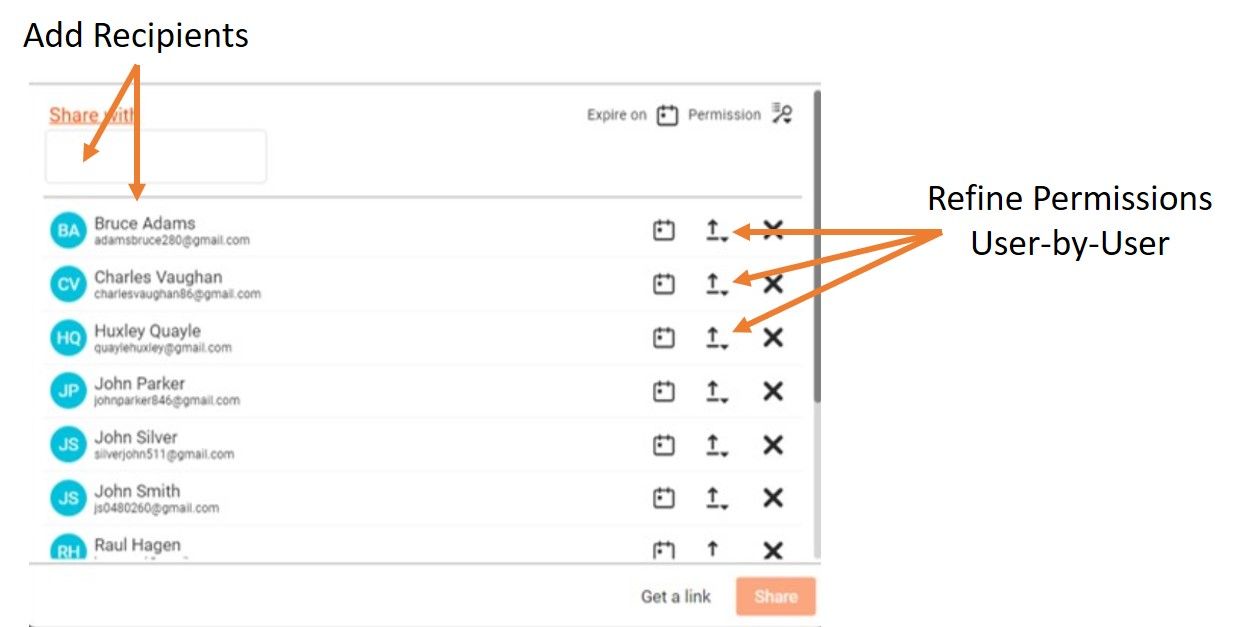
Step 4) Add recipients
- Enter the people who will participate in your virtual data room in the ‘Share with’ dialog box. Under your paid subscription you can give as many recipients as you want access to this data room. There is no cost to them or additional cost to you in the creation or sharing of this data room and you can create as many data rooms as I need.
Add As Many Recipients As You Need
Step 5) Modify permissions user-by-user as appropriate
- Beside each user, you can further refine the sharing permissions. You can make the data room ‘view-only’, you can allow for the client to make a hard copy with ‘Print’, you can give them download rights or you can give them editing rights at your discretion. You can also set an automatic expiry to the data room if you want. You can even make some recipients observers only where they can access the folder but are not granted upload rights. All the sharing options can be set on a user-by-user basis with different users of the data room having different permission levels.
Step 6) Share the folder
- Finally, click the ‘Share’ button at the bottom of the share dialog to share your virtual data room.
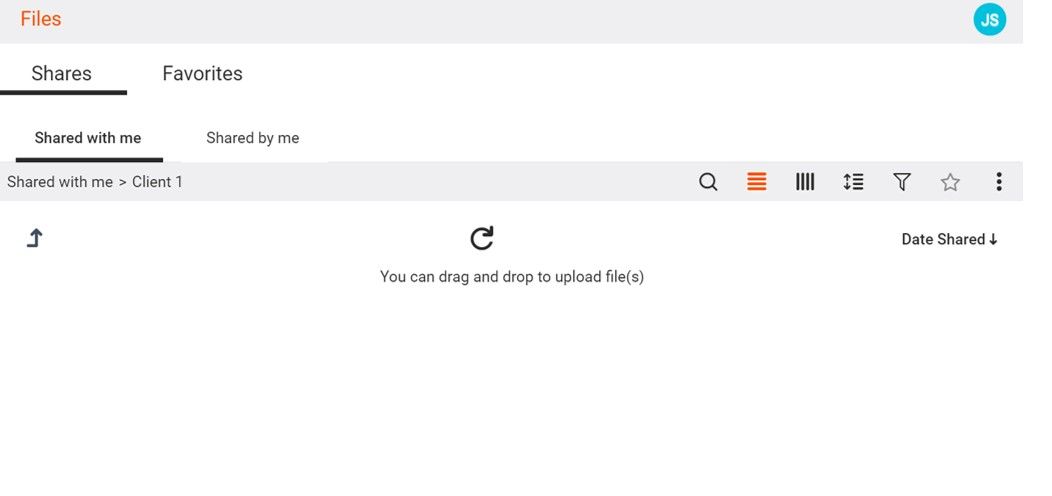
Recipient Access
The recipient receives access to the folder. You will notice that the location of the data room has been abstracted – the recipient does not know that it is on our corporate Infrastructure-as-a-Service storage.
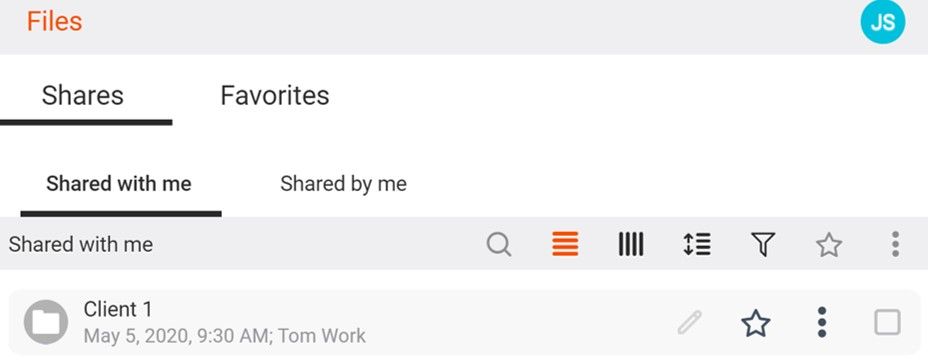
Recipient view
They open the folder and then can drag and drop files into it.